Commercial lighting maintenance involves regularly repairing, cleaning, and upgrading your lights. But many businesses lack the knowledge to do so, which impacts their electricity bills, repair costs, and safety. So are you ready to get busy so those lights can keep working for you?
At GS Light, we work with businesses like you every day to keep your lighting performing at its best. We know that lighting creates a safer environment for employees and customers, so we wrote this guide to make maintenance simple and practical for you.
You’ll learn how to monitor your system performance and schedule upkeep before they become costly repairs. By the end, you’ll know what essential maintenance checkups you must do and have a clear routine cleaning schedule so you can start right away.
Let’s get on with it.
The most common types of lighting issues commercial properties have include:
The worst you can do is ignore these problems because they add up fast. A darker facility affects both safety and productivity, and you’ll end up replacing entire fixtures instead of just fixing small issues early.
Pro Tip: For industrial lighting, use IP69K-rated tri-proof lights if your factory or warehouse operates in harsh environments. They work well under high pressure (100 bar) and high temperature (80°C), so you don’t have to worry about thermal degradation. They also have a flicker-free driver that saves 80% in energy consumption.
Now that you get a sense of why lighting maintenance matters and what you should watch out for, let’s get into what you should do to maintain your lighting.
The best commercial lighting maintenance tips are as follows:
Regularly checking your lighting system helps you catch small problems before they become costly repairs.
Let’s walk through what you need to do.
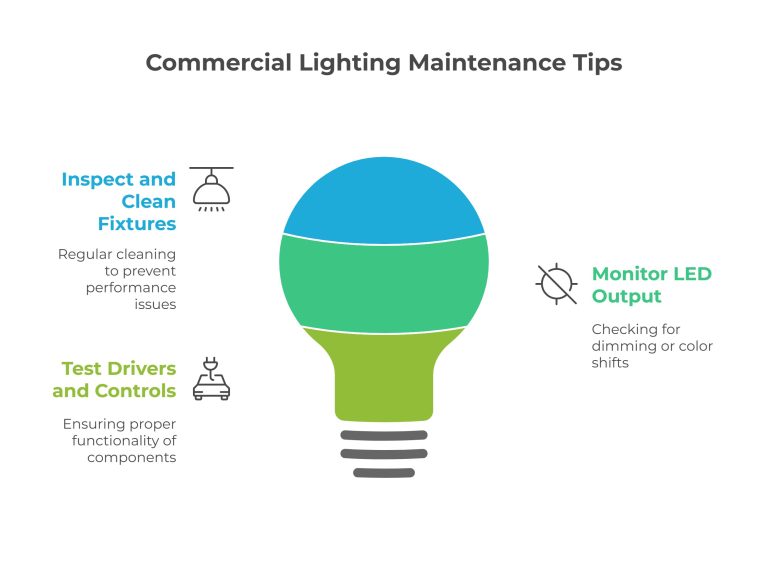
We recommend that you inspect and clean your light fixtures every 1-3 months because dust, moisture, and loose wiring all damage your lighting performance over time.
Here’s how to do it:
Simple and quick, right? Do all these and you’ll maintain optimal lighting for years to come. You’ll also prevent early failures that will cost you money to fix and disturb your operations.
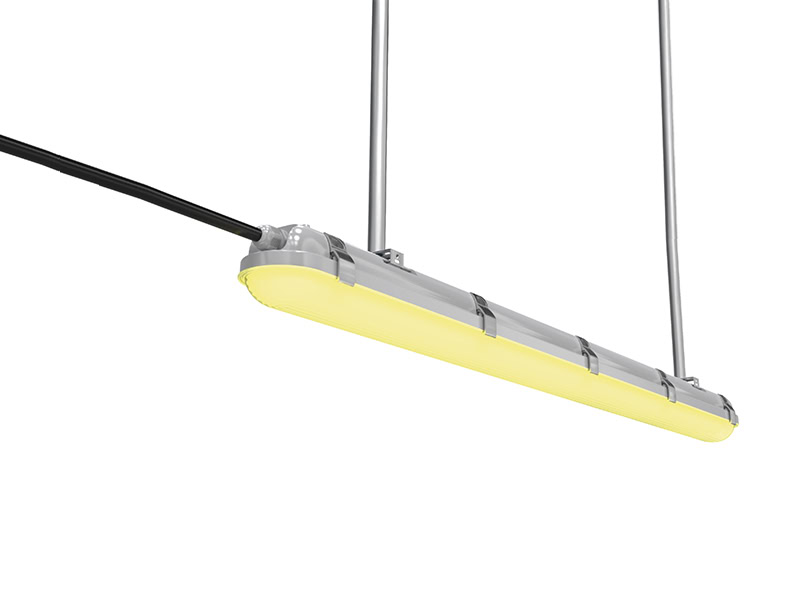
But in areas that get dusty fast (parking lots, industrial plants, or tunnels), install fixtures that need less maintenance. We recommend these LED batten lights with IP65 protection as they are dust- and waterproof, so your interior stays clean even in tough environments. Although the exterior still needs regular cleaning, it’s much less work compared to regular fixtures.
Monitoring your LED output helps you catch problems before they cause bigger problems, such as productivity loss and expensive, time-consuming repairs.
We’ve provided you with a list of common problems commercial lighting solutions have. Watch out for any dimming, uneven brightness across fixtures, or color shifts. If you own a store, you don’t want any of your aisles looking yellowish because customers will have a hard time reading product information. So once you notice these signs, replace your lights immediately.
But even when your lights seem to be working perfectly, no dimming, uneven brightness, or color shifts, check if they are performing the way they should.
The easiest way to do this is by using a lux meter. Here’s how:
If your readings fluctuate a lot, it’s a good idea to call a lighting professional. Sometimes, it’s just a faulty lux meter. But if not, it’s a sign your lights are ready for replacement.
And when you do replace your lights, choose fixtures that have self-monitoring and protective features, such as this 60 x 60 LED panel light. Its Phillips flicker-free driver has thermal warning and shutdown, short- and over-current protection, under- and overvoltage protection on the booster, and LED temperature monitoring.
Sometimes, when your lights don’t run properly, it’s caused by a faulty driver, dimmer, or control. Testing these components prevents unexpected outages.
Most people don’t know that LED drivers usually fail before LEDs themselves. For example, if you notice flickering, delay, or buzzing, the driver is failing. The easiest way to check a faulty driver is through visual inspection. Look for:
A more accurate driver test is performed using a multimeter, but you should call a professional for this. What they’ll do is:
However, if you have verified that the driver is functioning properly but the fixture is still flickering or dimming, test the dimmer and smart controls.
Using a dimming driver or an app (for smart controls), change the intensity of your light. It should dim smoothly. Check that there’s no sudden outage, buzzing, or flickering. Notice how often we mention flickering in this article? It’s because that’s almost always the first sign that something’s wrong with your lights.
If you face any of these problems, schedule a replacement immediately.
Having a regular maintenance schedule extends the life of your lights and guarantees that they operate effectively and efficiently all the time.
We know it may start to feel overwhelming at this point because of all the things we’ve told you to do. But don’t worry, we’ve made the maintenance schedule for you. All you have to do is treat this like a checklist and come back to it weekly, monthly, and quarterly.
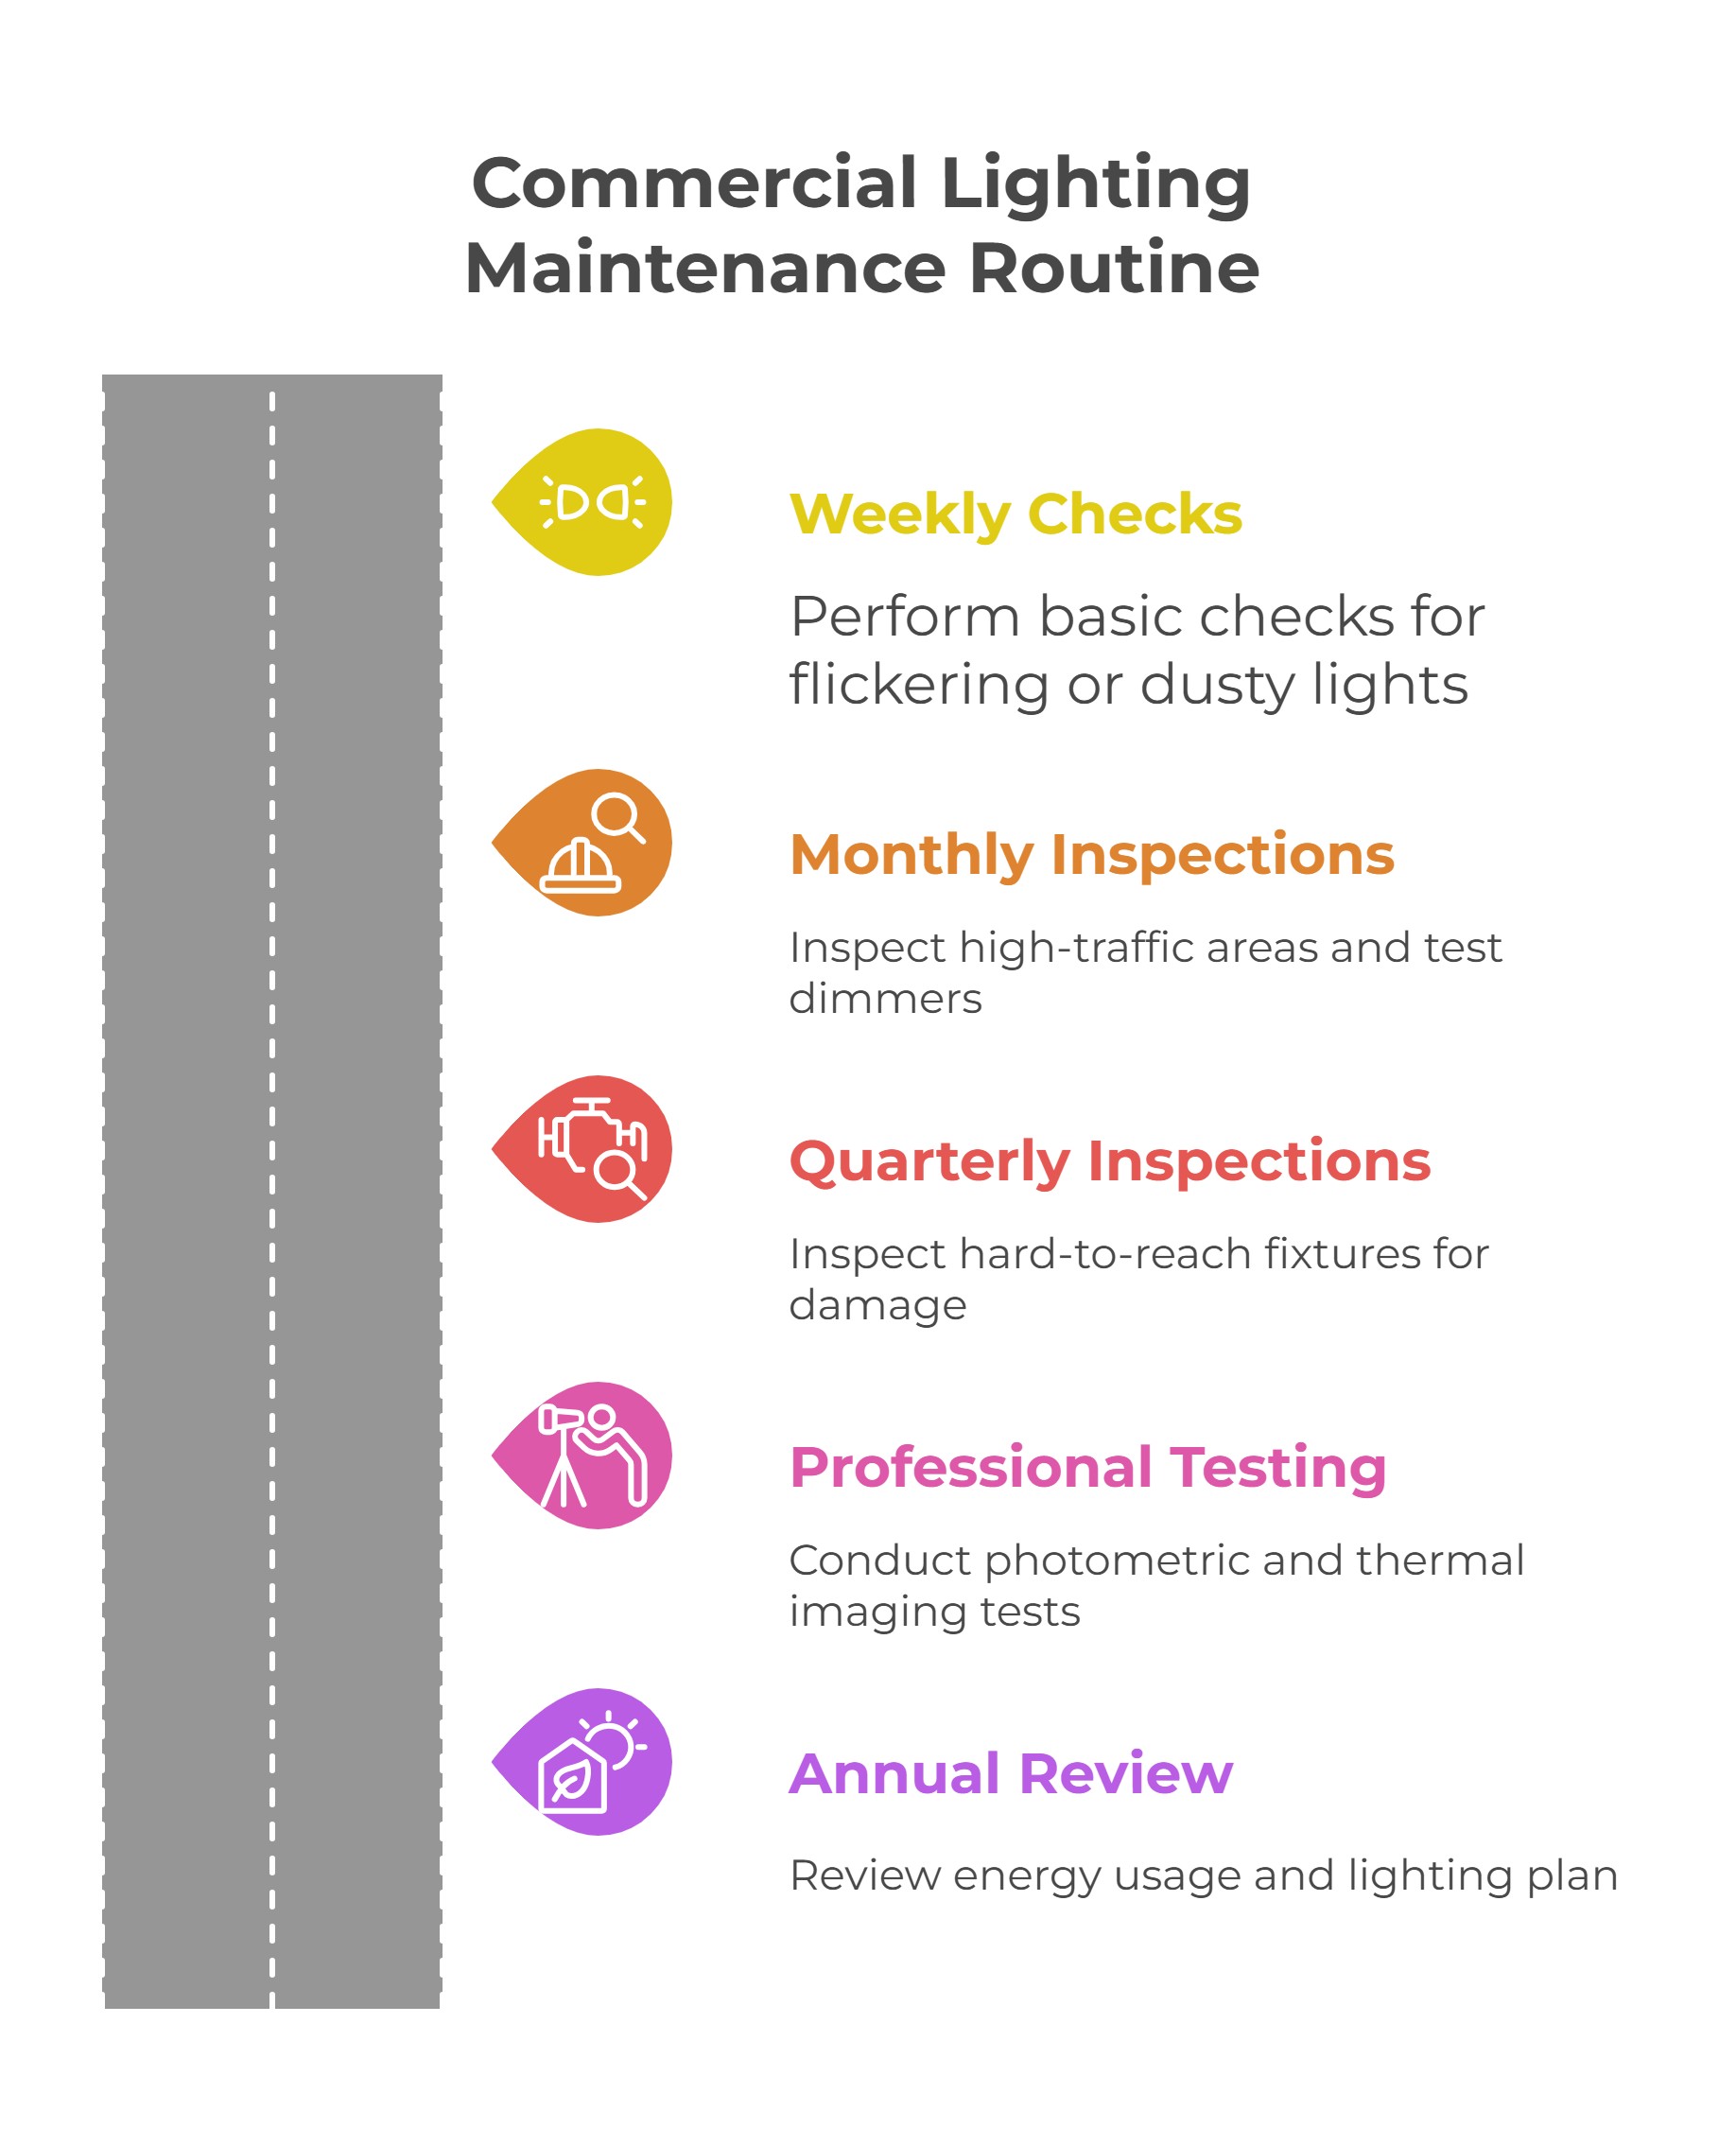
Weekly checks involve fairly easy tasks, but they’re equally important because they help maintain lighting stability.
To do this, start with the basics. Are there any flickering lights? Lights that don’t turn on at all? Take note of these, especially where they’re located, if you have a big commercial space. It can be as simple as “Nov 20 – Aisle 3 – dim lights.” This makes it easier to pinpoint the problem when you schedule a repair or replacement.
As you’re doing your rounds, check for dusty light fixtures as well. If the exterior is heavily soiled, use a cloth or sponge dampened with water mixed with mild soap. DO NOT do this for the lighting interior. You’ll risk getting electrified and damaging the components. Lastly, make sure it’s completely dry before turning it back on.
When you’re done with your fixtures, do the same routine for your battery-powered emergency lighting system. Ensure they’re turning on and off properly, not dimming or flickering, and not dusty.
If you don’t want the hassle of cleaning separate portable emergency lights, we recommend using bulk head lights that can connect to an optional emergency power supply. They function as regular lights, but once the main supply cuts off, the lamps automatically go to emergency mode. As a bonus, they’re rated IP65, making them dustproof and waterproof (even less cleaning for you).
Monthly maintenance helps you catch problems that were not obvious during your weekly routine.
Begin with your high-traffic zones like entrances, lobbies, or main aisles. These areas collect dust faster, so fixtures lose brightness sooner because dirt settles on the lenses. Clean dirty fixtures with a microfiber cloth, then pick 10-15% of your fixtures at random and turn them on and off to make sure they’re responding properly.
Now, look at your dimmers and lighting controls. Go one switch at a time. Gradually adjust the dimmer and see if the lighting levels respond smoothly. After that, test your automated controls to confirm the schedules or sensors still trigger properly.
Same as your weekly maintenance schedule, document your monthly observations as well.
The more challenging tasks fall under quarterly and annual maintenance. Relax, this is the last one.
Every three months, inspect fixtures that are hard to reach, such as ceiling-mounted, high bay, and corner lights. Since they are rarely cleaned, expect thicker dust buildup. Be more thorough when inspecting. Look for burn marks that indicate heat damage, loose brackets, and frayed wires.
But visual inspections can be a pain for hard-to-reach lights. In this case, it’s better to call a professional to perform a few tests. They are more reliable and accurate since they have the tools and expertise to detect issues that are not visible to the naked eye.
Some of the tests they perform include:
Lastly, review your energy usage annually. You’ll spot which fixtures are consuming more power than they should, and you can swap them before your electric bill keeps climbing. Also, check if your lighting plan still fits your building’s needs, or if it needs adjusting. Maybe you added new shelves or changed the layout.
The short answer is regular maintenance checks and immediate repair or replacement once you notice a problem.
One good place to start is temperature control. LEDs usually generate more heat. And when that heat gets trapped inside a fixture, it forces the driver to work harder, which shortens its life.
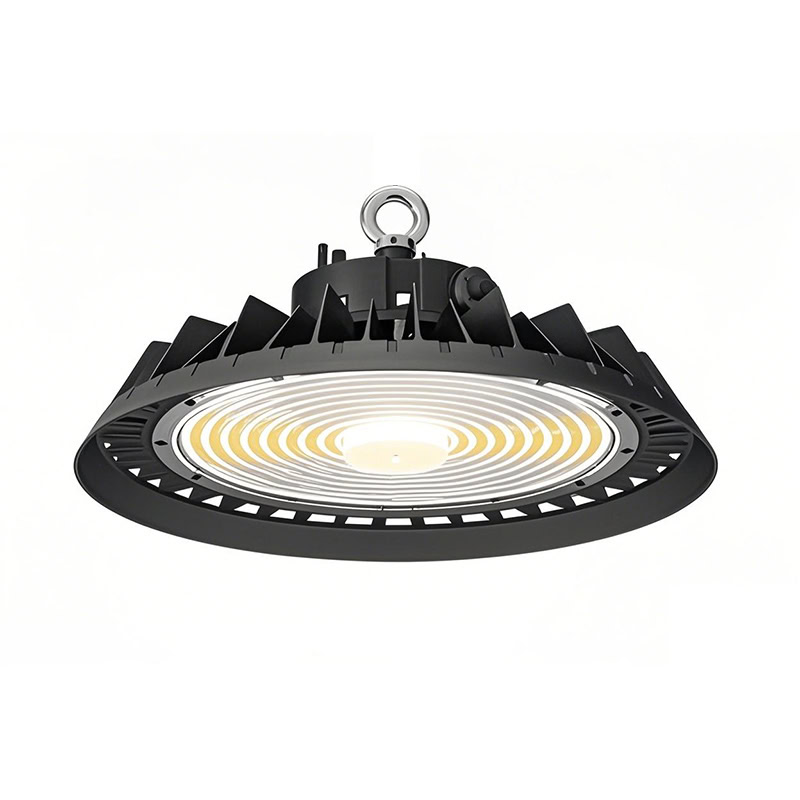
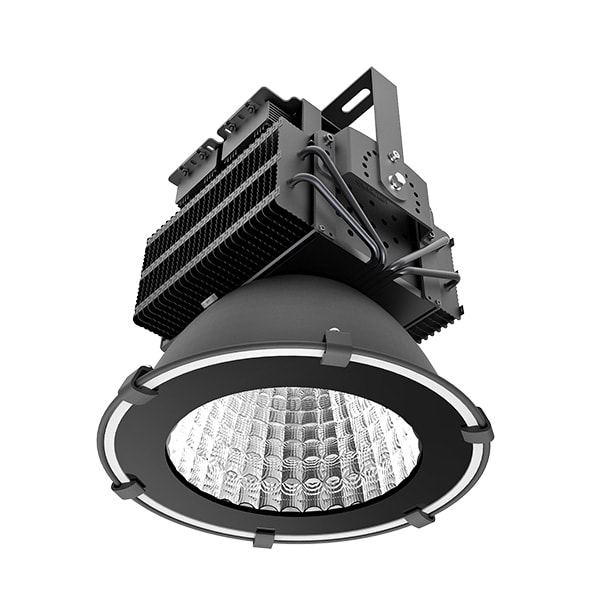
You can prevent this by using energy-efficient LED lights with heat sinks or heat sink-like bodies, such as our high bay LED lights. Its ADC12 die-cast aluminum body acts as a heat sink so that heat dissipates to its body instead of being trapped inside.
But if you have damp or wet areas, use IP65-rated waterproof LED fixtures or these LED panel lights with IP65 protection. Moisture is one of the main reasons lights flicker or fail early, especially in car washes, food plants, or outdoor corridors. Regular fixtures will corrode and fail within months in these areas.
Good maintenance works better when it’s paired with smart upgrades. It’s about cutting your operating costs and giving you better control over your lighting system.
According to the US Department of Energy’s information, LED bulbs are energy-efficient lighting solutions that use 75% less energy. They also last 25 times longer than incandescent bulbs and fluorescent lighting. These savings add up when you run your lights all day.
Aside from switching to LED lighting, integrating smart controls to your lighting systems automates lighting schedules, dims lights during off-peak hours, or uses motion sensors that turn lights off when rooms are empty. One example of this is our warehouse lighting with a microwave sensor that automatically turns on when it detects movement.
Okay, now that you have an idea for smart and LED upgrades, let’s talk about building a regular lighting maintenance plan that keeps everything running smoothly for years.
A good maintenance plan is just a schedule with clear tasks and must-have tools to get them done right.
Ask yourself:
You already have the “when” covered. Feel free to use the routine lighting maintenance schedule we’ve detailed above. You’ll also see which lights have to be checked in that section.
Now, all you have to think about are the tools and other resources you need.
Here are the essentials:
Don’t forget to check your light’s manual. Manufacturers provide maintenance tips for fixtures, so make sure to follow their instructions.
Remember: Safety first. Always follow safety regulations, especially when cleaning lights that are suspended at a height. If you want an easy-to-clean option, we recommend using backlit LED panels. Unlike traditional fixtures, they’re easier to clean and maintain because the surface is flat.

Managing your lighting systems may get tedious, especially when you’re busy running your business. At times like these, it’s better to call a professional than to neglect lighting maintenance.
But with so many lighting professionals, how do you pick the right one?
Here are a few things to look for:
It’s also a good idea to speak with at least 3 different companies. Having different options makes it easier to compare services, prices, and eligibility so you can choose the best fit for your company.
Outdoor fixtures should be inspected every 1-3 months. Weather, dust, and moisture affect them faster, so check for dimming, corrosion, or loose wiring.
Photometric testing is a process that measures how much light a fixture actually produces. It compares the current output to the specs in your manual, so you’ll know when it’s time to replace them.
The common signs of LED fixture failure include dimming, flickering, color shifts, or delayed start-up. Some fixtures even show uneven brightness in the same row. These small changes indicate the driver or LEDs are wearing out.
Seasonal shifts affect temperature, humidity, and daylight hours. Summer heat can overwork drivers and LEDs (causing them to overheat), which shortens their lifespan if ventilation is poor. Cold weather can make plastics brittle and cause dimmers to perform inconsistently.
Also, humidity in spring and fall causes condensation in unsealed fixtures, so check gaskets and seals before those seasons hit.
We recommend starting today with a quick walk of your facility and checking for any outages or flickering. Next month, test your dimmers and controls. And before the year ends, schedule that deep inspection we talked about.
Remember, all lights require maintenance. But you can reduce the hassle of that by choosing quality LEDs from the start or replacing your old ones. GS Light LED offers a variety of commercial-grade LED fixtures, including high bays, panels, and linear lights that last for 10+ years (good for 30,000+ hours) while cutting your energy costs.
For more details, reach out to our GS Light team today!