When planning a commercial landscape lighting layout, it’s important to address the dark spots, lighting specs, proper installation, and long-term costs.
As a provider of quality LED lighting products since 2009, we at GS Light have helped businesses choose the correct types of fixtures for their properties.
We created this landscape lighting design guide to share our in-house best practices. You’ll learn how to light your space evenly and build your lighting design in an hour.
Let’s get started.
A good commercial lighting plan keeps you from buying the wrong fixtures, spending too much, or ending up with uneven lighting. This comes from planning for it ahead of time, which helps you set the right tone and atmosphere for your outdoor space.
Over time, this improves your employees’ productivity and maintains the overall safety.
You’ve got the why, now let’s move on to the steps on how to do it right.
When creating a commercial landscape lighting layout, you must do the following:
Let’s discuss them in detail.

The first thing you must do is assess your lighting areas to understand what each part of the property needs. Think about how people move through your space and what you want them to see because every zone has a purpose that requires different lighting.
For example, your main entrance needs bright light so visitors feel more welcome. But your garden lighting should be soft and focused to highlight plants and landscaping.
Other lighting zones include:
As you consider those, the rest of the design process becomes easier when you map out your property in this way. You’ll get a general idea of the different types of commercial lights you’ll get. And you can also group areas and buy fixtures applicable to multiple zones.
For outdoor lighting, we recommend using an LED bulkhead light. These are good for parking areas, pathways, and gardens because they come in different designs and color temperatures. This makes your maintenance easier and your landscape lighting system more uniform.
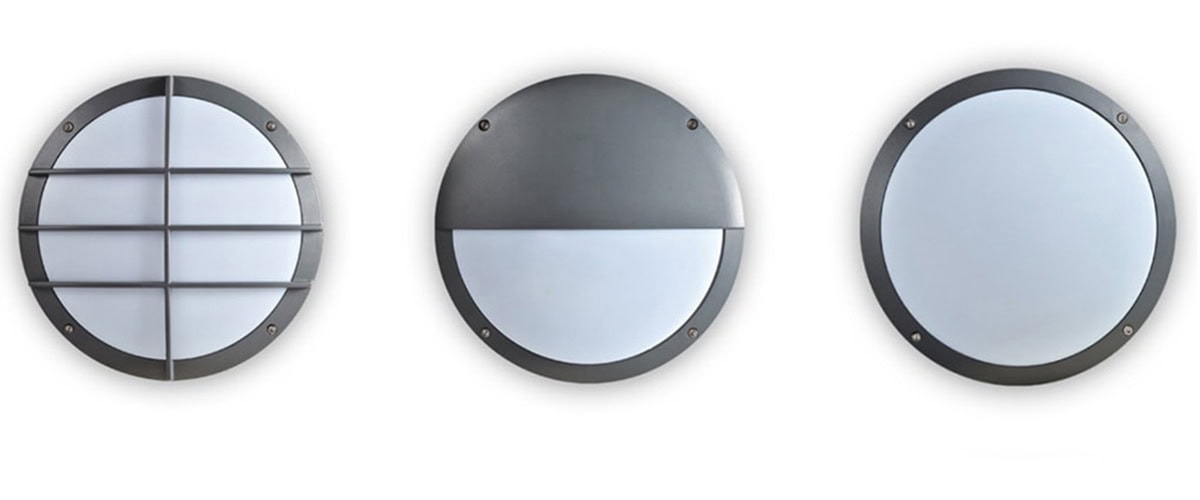
Speaking of choosing your fixtures, let’s discuss that in more detail.
Choosing the right fixture type matters because even the best layout won’t work if the lighting doesn’t match the landscape design. Some areas need wide, steady coverage while others need focused, direct illumination.
Here are some of our lighting solutions for specific locations:

When the wrong fixture is used, you end up with wasted energy and glare. We’ve seen places with floodlights in a garden, and trust us, nothing kills the soft and calm ambiance of a garden faster than blinding white light everywhere.
Now that you have an idea of the fixtures you can use, it’s time to plan their placement.
Fixture placement and spacing shape how your lighting looks once everything is installed. If your lights are too far apart, you’ll have dark spots between them. However, putting them too close together can waste your money by overlighting your area.
A good approach is to follow the natural flow of the property. But how does a property “flow?”
Here are some examples:
If you need more ideas on fixture placement, we have a discussion on lighting techniques in the latter part of this article. You may skip to that before proceeding to step 4.
As for spacing, determine the coverage of each bulb you plan to install. A single wide-beam 100W LED flood light covers a large area, so you can space those farther apart, while narrow spotlights need closer spacing to avoid having dark spots.

Once you’re done with your landscape lighting plan, the next thing to think about is how you can power them on.
A lighting system that uses both low-voltage and solar power affects how easy your lighting is to install and maintain. Although both work well, they fit different situations.
Let’s get into them in more detail:
It’s best to think about how much sun the area gets and how often the lights need to run at full brightness. Pick low-voltage if you need consistent, reliable lighting every night. But if you’re in a remote area, choose solar-powered lights like solar street lights.
We’re almost done designing your lighting layout. The only thing left to do is to draw the plan you’ve come up with in these 4 steps.
Creating your site layout helps you see the whole property at once, so you’re not guessing where each fixture goes or how much the project will cost. You don’t need fancy software or design skills either. Why? Because you can simply mark where everything goes when the installation comes.
Here’s what you need to get started:
Pro Tip: Take photos of your property and print them out so you can sketch your fixtures directly on the photos. It’s easier to visualize where the lights will go when you look at the real space rather than a drawing.
Test your lights right after installation to check if everything’s working and again once the sun goes down to see the lighting exactly how visitors will see it. This is the last step, but it’s the most important because what looks good on paper doesn’t always work perfectly in real life.
Check for issues such as:
Some of these issues can be solved by simply adjusting the angle, brightness level, or position of your lights. If glare or dark spots still persist after the adjustment, you may need to remove or add some fixtures.
Once you’ve tested and adjusted everything, congratulations! Your lighting layout is done, and you can now power up your business.
Uplighting, downlighting, and accent lighting are the top landscape lighting techniques that make your lighting layout more creative. It helps your areas look appealing instead of simply being functional.
Let’s take a look at how you can apply each lighting idea.

Uplighting involves placing fixtures at ground level and aiming them upward. This adds depth and makes architectural elements or textured walls that might not be noticeable during the day stand out at night.
Here’s where they work best:
Note: Angle the light just enough so it lights the feature without shining directly into someone’s eyes. A small tilt change can prevent glare and improve the lighting. Recessed ground lights help with this because of their adjustable beam angles and dimmable LEDs.
Downlighting enhances visibility, safety, and security because it mimics natural light. We’re used to sunlight and moonlight coming from above, so it matches what our eyes expect to see. This also helps people see where they’re walking without harsh shadows or glare.
Downlighting works best in:
Tip: Mount your fixtures higher and use wider beam angles to spread the light out more evenly instead of creating a single bright circle on the ground. An example is our wall washer lights that distribute light smoothly across vertical surfaces.
Accent lighting is different from uplighting and downlighting because it’s all about drawing attention to specific features instead of lighting entire areas. The goal is to point the eye exactly where you want it.
On commercial properties, this makes branding elements stand out, such as:
An example of accent lights is spotlights. They concentrate light into a tight beam, so you get clean definition on whatever you’re highlighting without spilling light everywhere else.
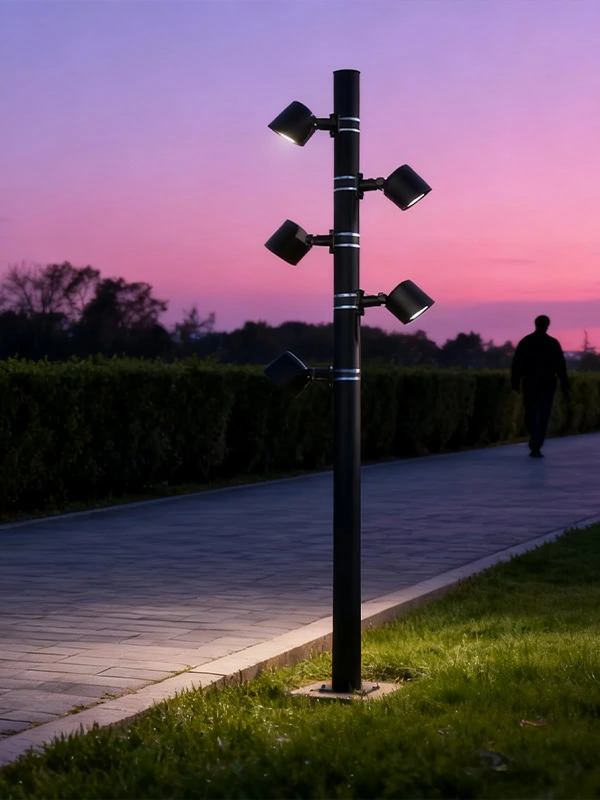
Silhouetting and shadowing create a softer, more artistic look than direct lighting, but in opposite ways, specifically:
These effects work well with:
Both effects add visual interest by creating dramatic contrast and depth. Instead of just lighting something directly, you’re playing with the shapes and patterns that light creates, which gives your landscape a more dynamic feel at night.
Focus on safety, even coverage, and natural-looking light. Make sure to use the right fixture type for each zone and pick color temperatures that match the environment. After the landscape lighting installation, test the layout at night, adjust angles, and keep wiring clean and accessible for future maintenance.
Scaled site maps, digital layout apps, and photometric calculators are the most helpful lighting design tools. It’s okay to use Google Maps and graphing papers to map your layout. Software with 3D previews also helps visualize fixture placement before your installation begins.
Some common mistakes in lighting layouts include placing fixtures too close together, creating glare, and using the wrong beam angles. Many layouts fail because their zones aren’t mapped out first, and skipping nighttime testing leads to uneven brightness and costly adjustments later.
Now that you’ve planned your layout, it’s better to review your drawings once more and double-check your fixture count and materials list. Make sure everything matches what you need before you order.
To help you out, do these final checks:
For more details, visit our blog today for more commercial landscape lighting design tips.